


 Home
Home
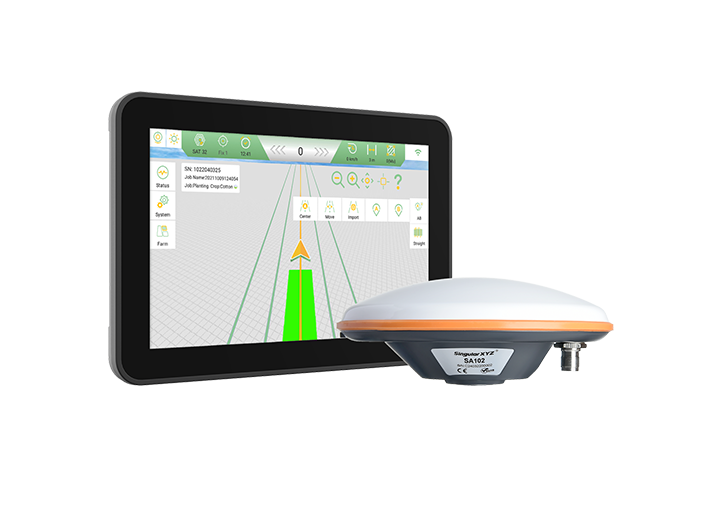
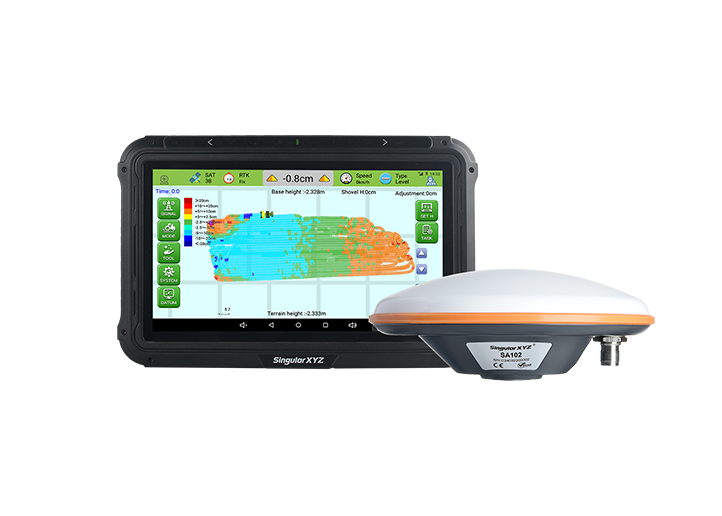
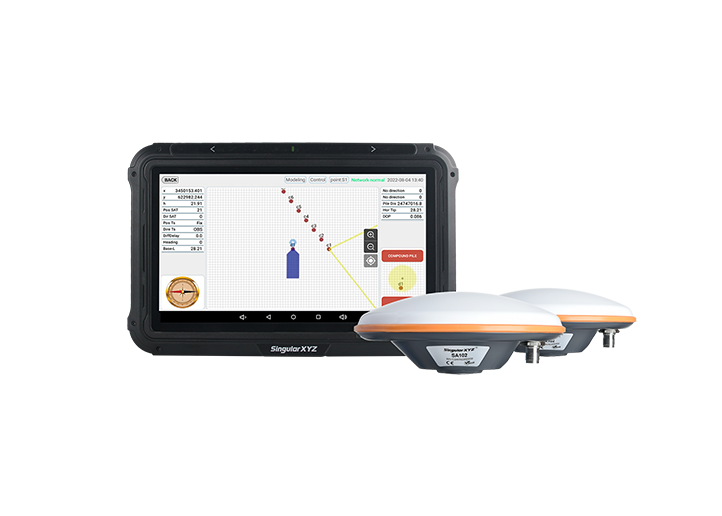
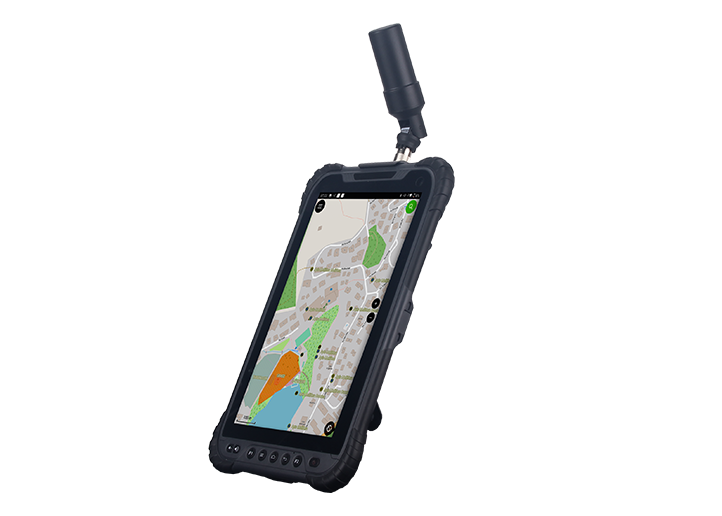
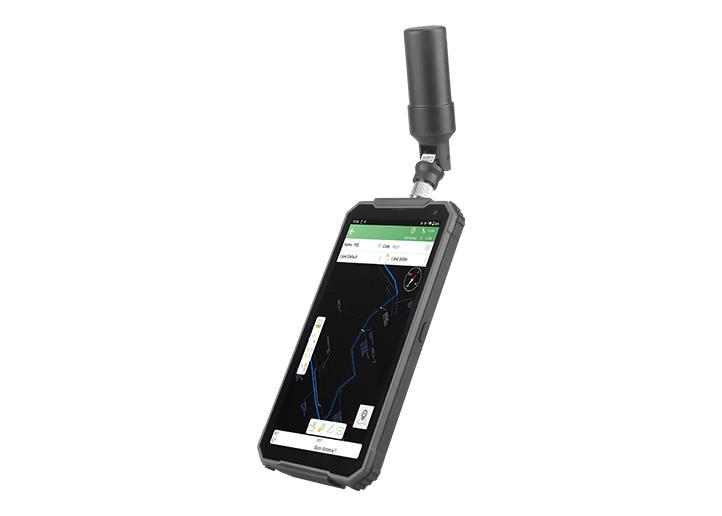
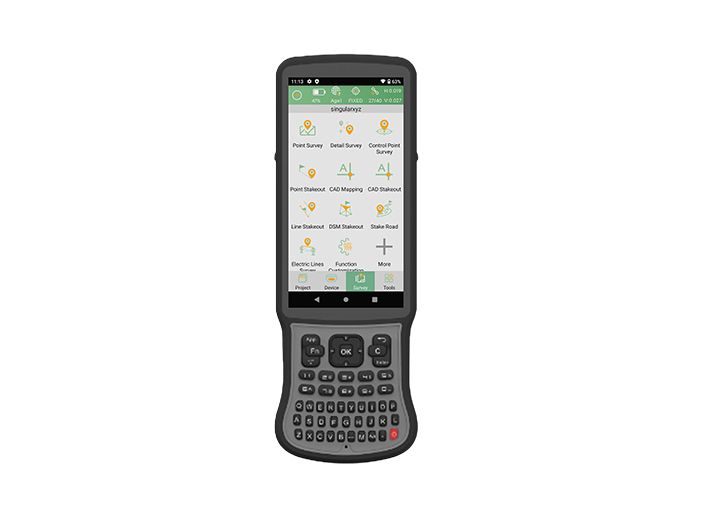
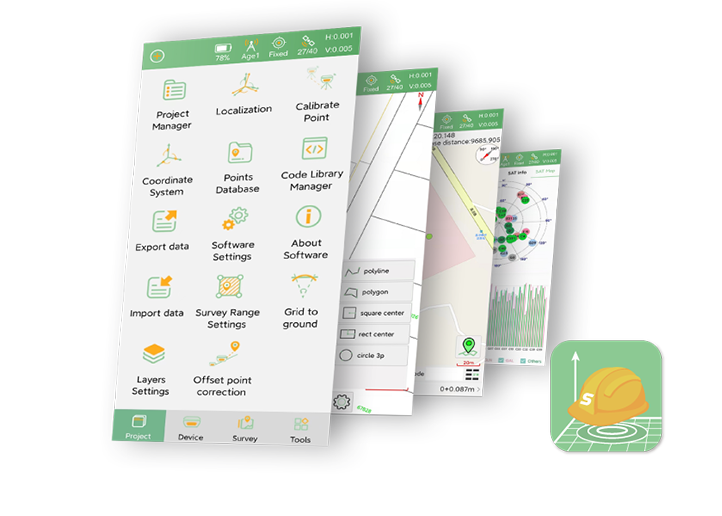
SingularPad Field Surveying Software
learn more


 2025-07-01
 Charlie Latchford


This blog will take a deeper dive into creating a Code Library within the SingularPad software, as there have been a number of feature updates in recent iterations. Creating a Code Library greatly improves the quality of the survey capture both in the field (by creating the linework/features) while undertaking the survey capture and then importing data into the processing software.
In this first part, we will focus on how to create and manage code lists using the Code Library Manager.
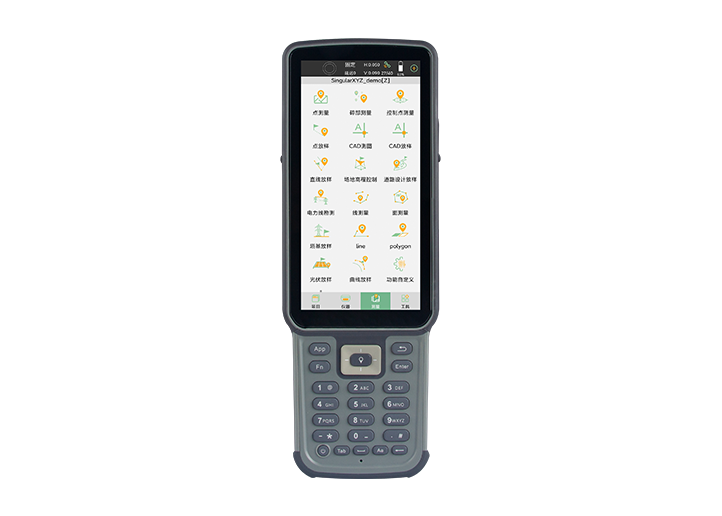
In the Project Tab, select Code Library Manager.

Select the icon in the top right corner

Then tap New in the bottom left corner

Enter a name for the Code List and select OK

Once the code list has been created, or to edit an existing file, first select the file, then PRESS & HOLD, until the following screen appears. Then select Edit.

To create a new code, select Add at the bottom left corner of the screen. This will open another panel that allows the user to enter a new code:
The long name of the code
Abbreviated code name – this will be used within the data export to CSV
The layer for the created points (this will be covered by another blog)
The display colour for the Point or Line Feature
Option for different point symbols (SingularPad is shipped with a number of example icons)
This is for creating line strings, which will be covered in more detail below
User can assign attributes to point (see this blog post for more details)


Below is an example of a point code called Spot Height.

Below is an example of a string code, Top Of Bank.
Note how by selecting Auto Connect by Code (6), this opens more options for the survey code. It also allows the user to enter a string number when undertaking a survey capture (e.g., road survey). More details on this feature will be covered later.
8. Allows the user to select either a Two Point Line, Polyline, or Polygon
9. Allows for different line colours to be assigned to the code
10. Allows for different line styles to be assigned to the code
11. Allows for different line thicknesses to be assigned to the code


Example of the line work for the TB & BB Code's

Note the different line styles and thicknesses. The software allows the user to enter a string number and use the plus/minus icon to change the string number.
Below is a screenshot of an example code list.

Note: The code list search is case sensitive. Starting characters with upper or lower case will affect the quick search results.
Tip: Software Feature Request –to have the option to reorder the codes into alphabetical order within the Code Library as currently in the order entered by the user.
The user can either assign the code library file when creating a new project or assign it to an existing project within the software.
When creating a new project in SingularPad, there will be a toggle button: Use the last Code Library file.

Enter the Code Library Manager, select the file, then press & hold until the following screen appears.

Now that the code list has been created and applied, Part 2 will explain how to use the codes during measurement — including code searching and string number control in field workflows. Stay tuned to the next chapter.