


 Home
Home

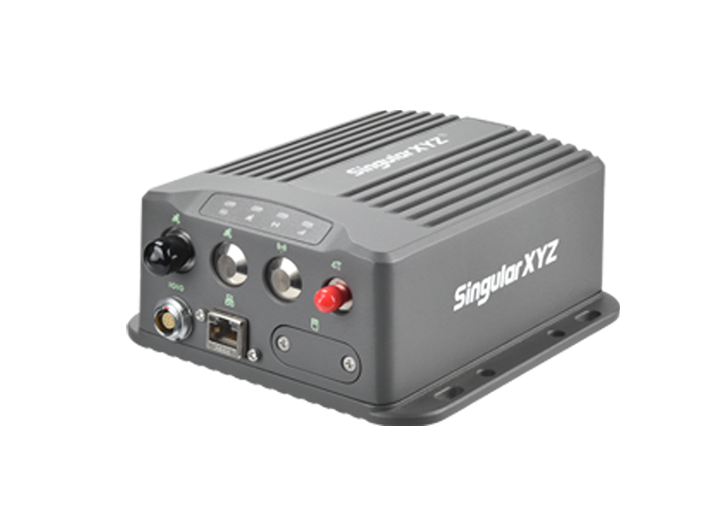
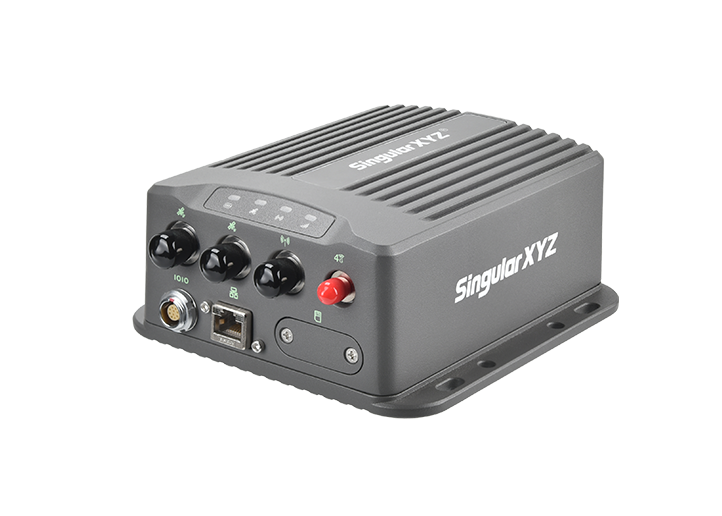
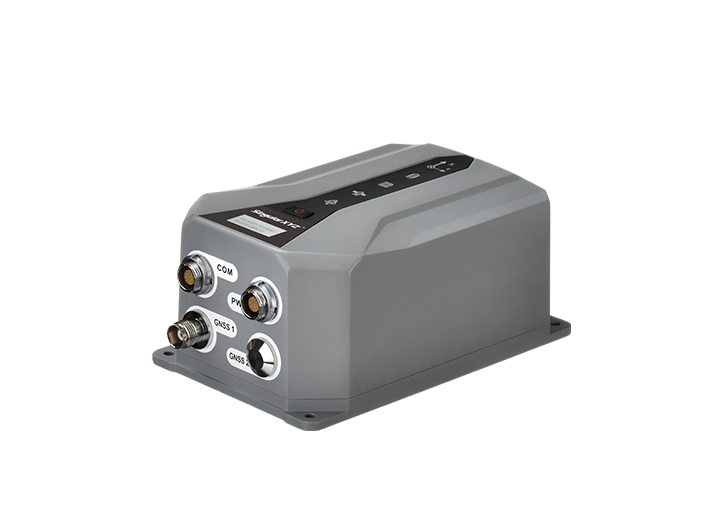
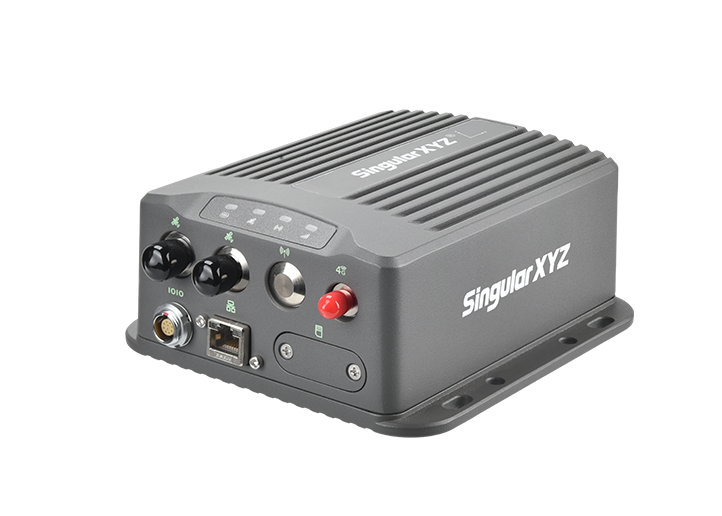
Orion ONE
GNSS Receiver
GNSS Receiver
learn more


 2025-07-22
 Charlie Latchford


Continuing from Part 1, where we explained how to create and manage code lists in SingularPad, this second part focuses on how to use the codes in field measurements — including selecting codes, searching, and using string numbers for linework control and export.
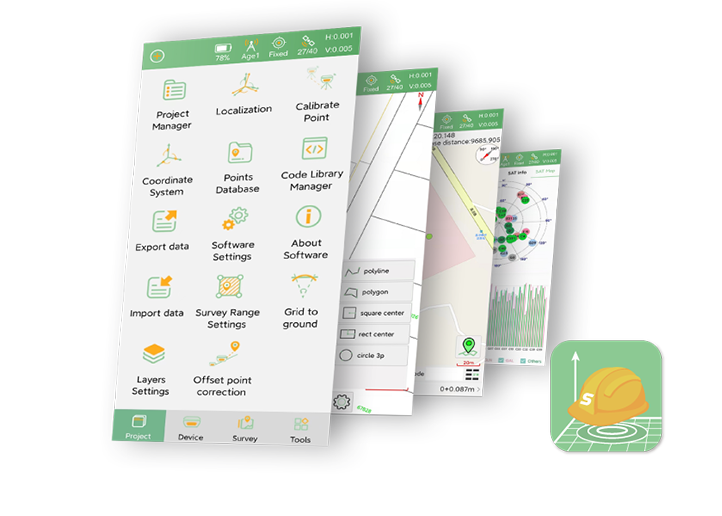
Once the Code List has been assigned to a project, the user can select it using the code selection icon in any of the measure functions.

Below, the user can see both the longer and shorter code names, as well as the point symbol.

3.1 Searching for a Code
Note: The code list search is case sensitive. Using upper or lower case in the search input will affect the results.
Users can select the code entry input area:

Then begin typing — for example, lowercase "e". Notice that only the first lowercase "e" will be highlighted:

If the user types uppercase "E", the first character of "EG" is selected:

Another example: uppercase "B" will find relevant matches:

Whereas lowercase "b" returns no results:

If a code was configured in the Code Library Manager with Auto Connect enabled, the user can assign string numbers during field measurement. This enables the software to automatically draw linework between related points — useful for road features, edges, or topographic lines.
4.1 Assigning and Controlling String Numbers
When using a connected code, string number controls (plus and minus icons) are shown. The user can increment or decrement the string number between observations.


4.2 Continuing an Existing Line
To continue an existing line (string):
Select the desired string number (highlighted blue)
Tap Edit from the bottom toolbar

Then:
Select Next Point
Measure the new location
The line will be extended to the new point

4.3 Closing a String
When using a Polyline code, SingularPad allows the user to close the string. After the second observation, an additional dialog appears where the user can stop using the string number or choose to close the line.


4.4 Exporting Data with String Numbers
Since the string number is stored as an attribute with each point, it can be included in the CSV (or other format) export.
Steps:
In the Project tab, select Export Data
Tap the ">" icon to create a new file type
Tap New at the bottom

To create the correct export format:
Name the export template
Define file format (e.g., CSV)
Choose delimiter
Toggle headers if needed
Select attributes to include (string number must be selected manually)
Set the output order
Preview and save

Example output with string number included:

In Part 3, we will explore the Fast Code workflow — a powerful tool that speeds up repetitive survey tasks like cross-sections or road mapping. Stay tuned.