



















































 Home
Home
Horus Visual & Laser
GNSS Receiver
GNSS Receiver
learn more





 2026-05-25
 Gus
Gus


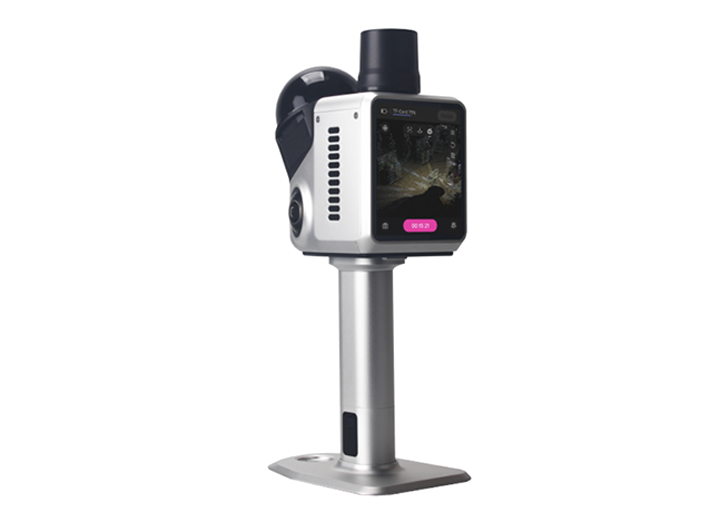
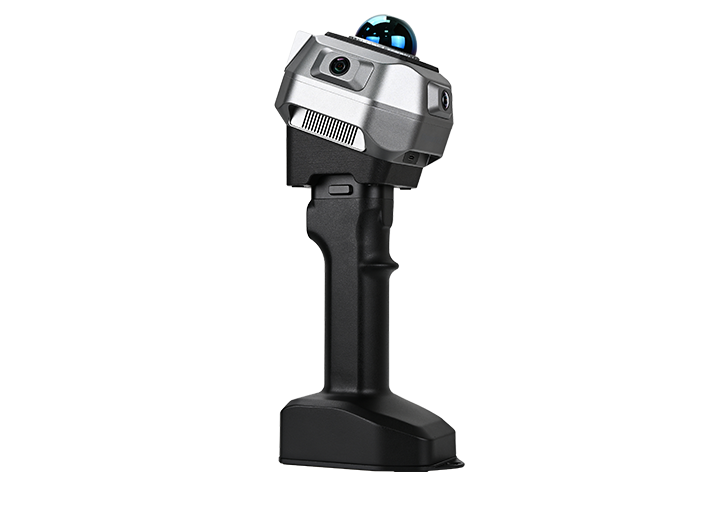
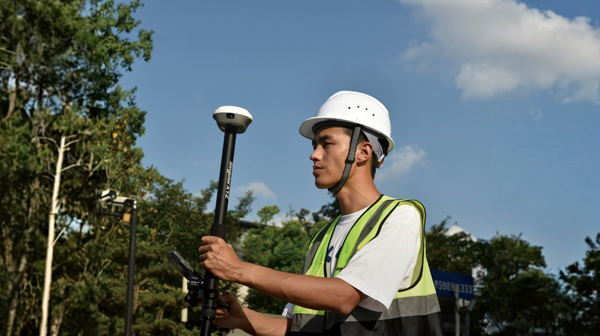
Visual surveying is an emerging measurement method that combines GNSS positioning with image-based point extraction, providing a more flexible workflow for complex surveying scenarios. Compared with traditional point-by-point measurements, visual surveying offers several practical advantages:
Higher Efficiency – Multiple target points within an area can be captured during a single survey process, reducing repeated point-by-point measurements.
Non-Contact Measurement – Measurements can be completed without physically reaching the target point, making the method especially useful for hazardous areas, high-altitude locations, road obstacles, fences, rivers, or other inaccessible environments.
Improved Field Flexibility – Users can first capture image data in the field and then select measurement points afterward in the software, improving operational convenience.
This blog introduces the standard workflow for Horus visual surveying, along with several important operating recommendations to help achieve reliable results.
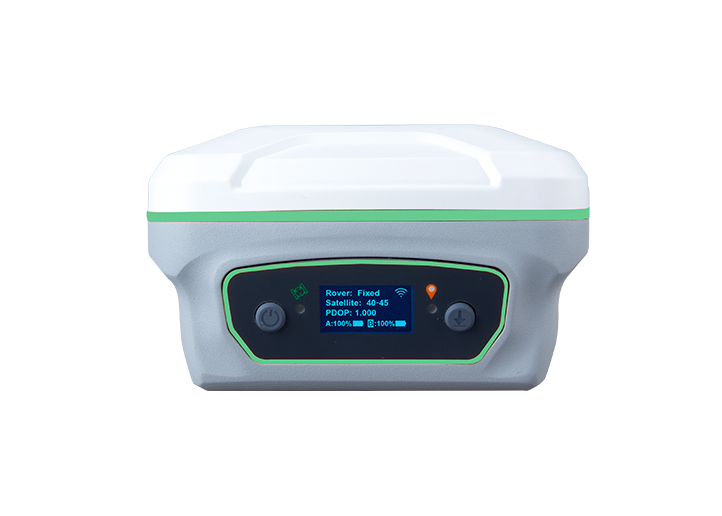
First, configure Horus in rover mode and ensure the receiver obtains a Fixed RTK solution. Then enter the Point Survey interface and complete IMU initialization before starting the visual survey.
Stable GNSS positioning and proper IMU initialization are essential for accurate visual survey results.
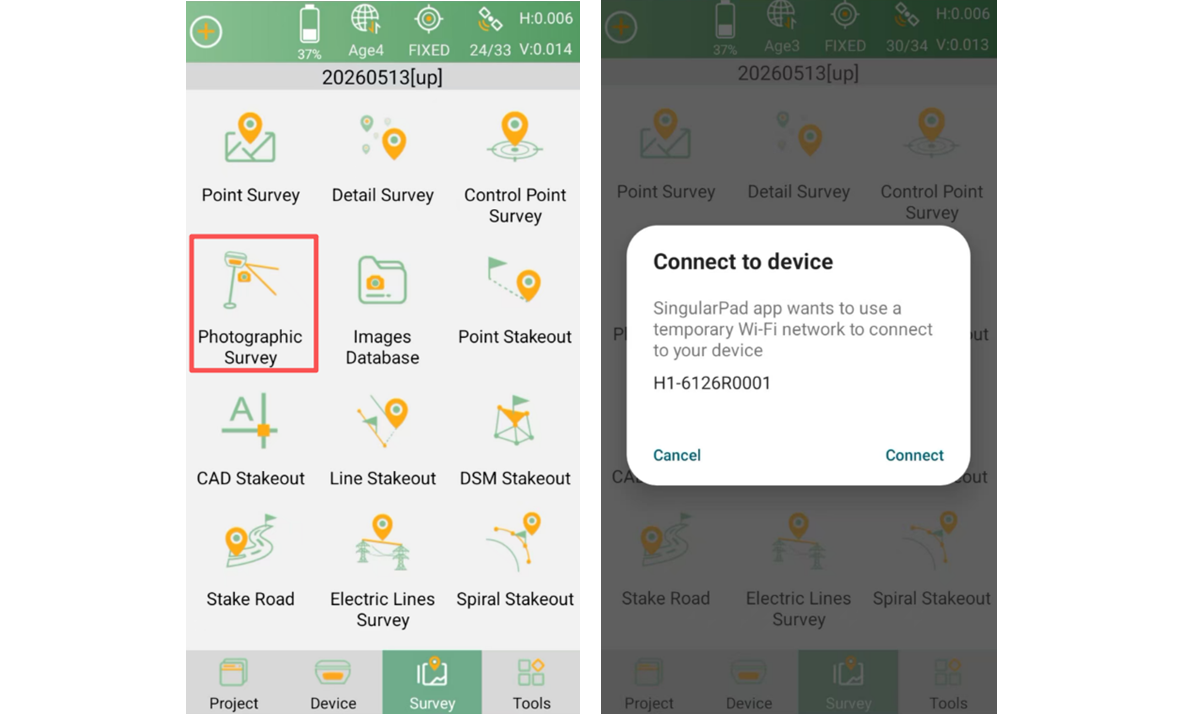
Open Survey >> Photographic Survey. The software will prompt you to connect to the Horus Wi-Fi network.
Note:
If you are using CORS mode and access network via the controller's WiFi, make sure a SIM card is inserted into the data collector. Otherwise, the network correction connection may be interrupted after connecting to Horus's Wi-Fi, causing the receiver to lose its Fixed solution.
Once the camera is ready, the live view from the front camera will appear in the software interface. Tap the central Measure button to begin the photographic survey process.
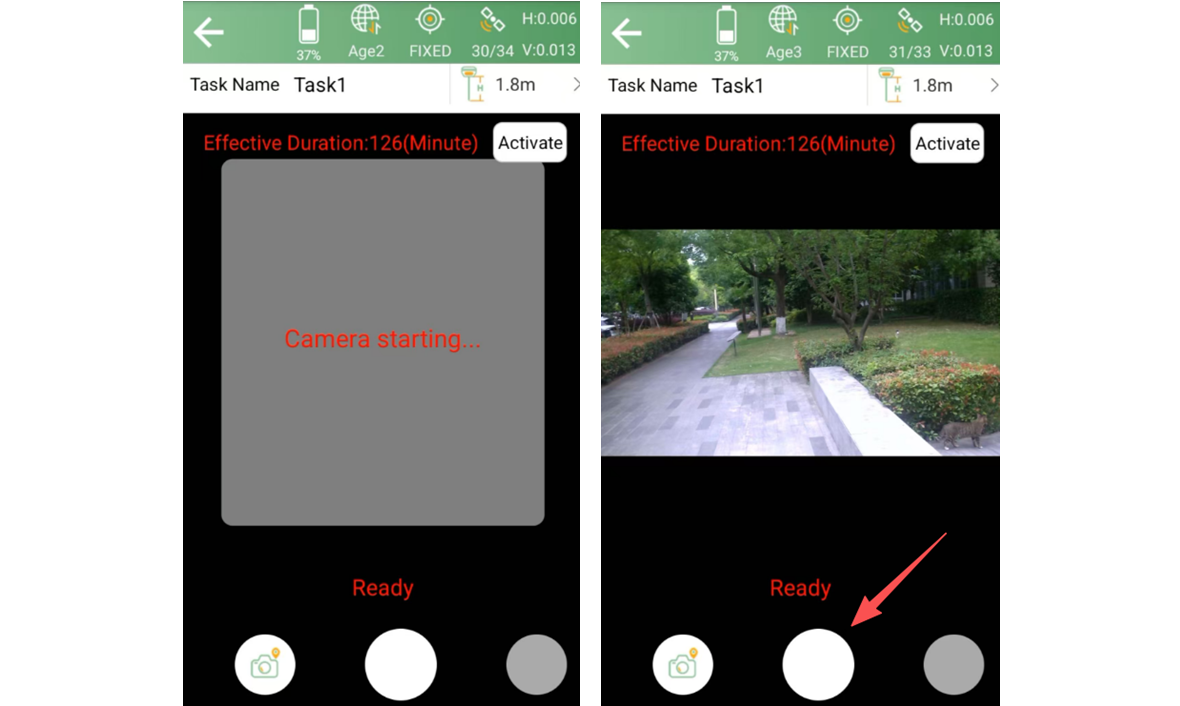
During the survey, move sideways around the target area while keeping the target point visible in the camera view as much as possible. This helps maximize image overlap and improves calculation reliability.
The system requires at least 8 photos to complete point calculations successfully.
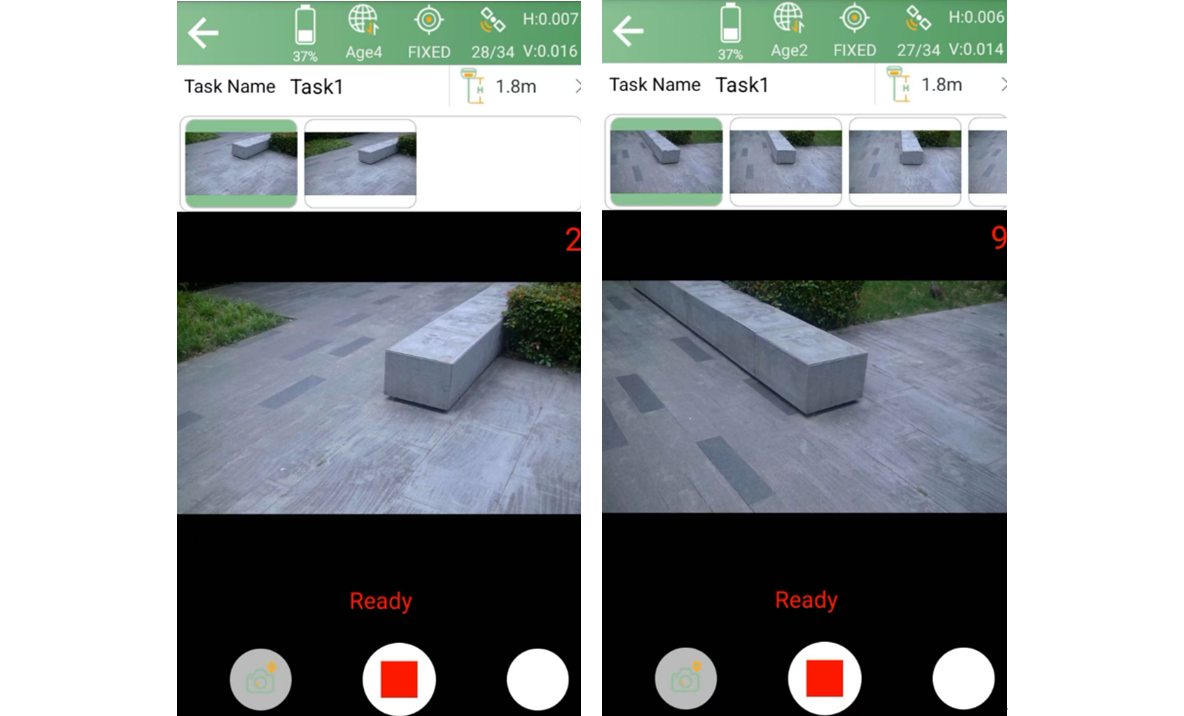
After image capture is complete, tap the Measure button again to stop the survey. The software will automatically switch to the Image Database interface, where all captured photos can be reviewed.
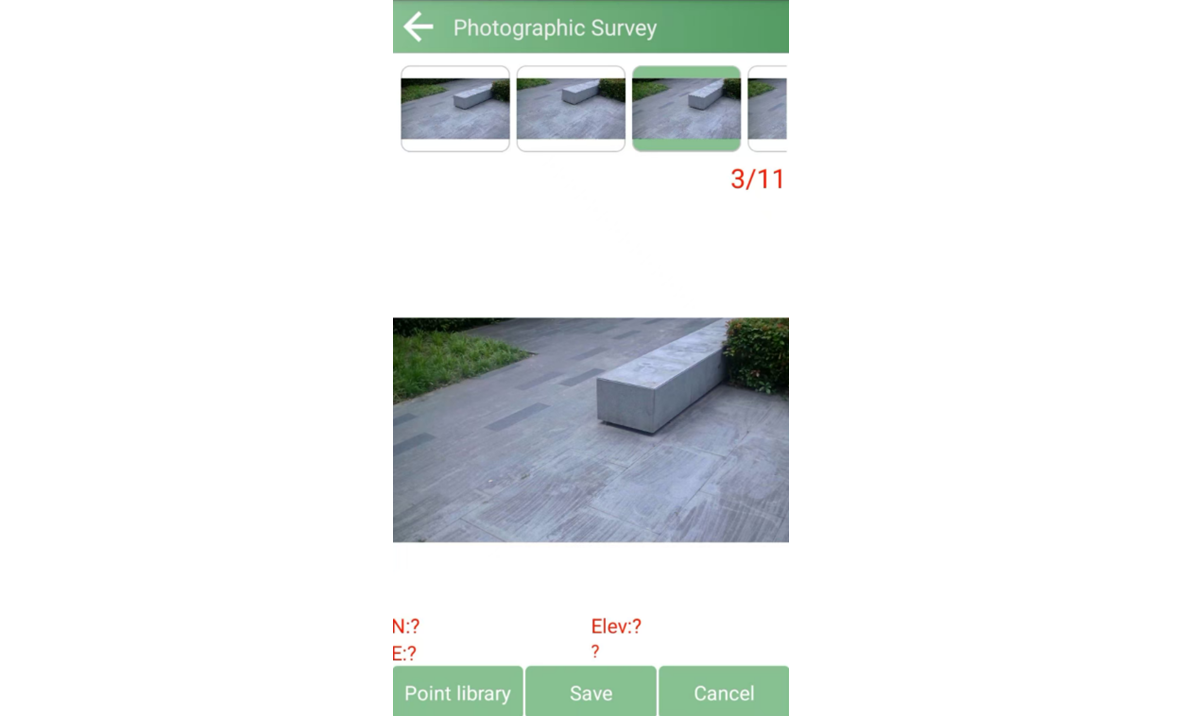
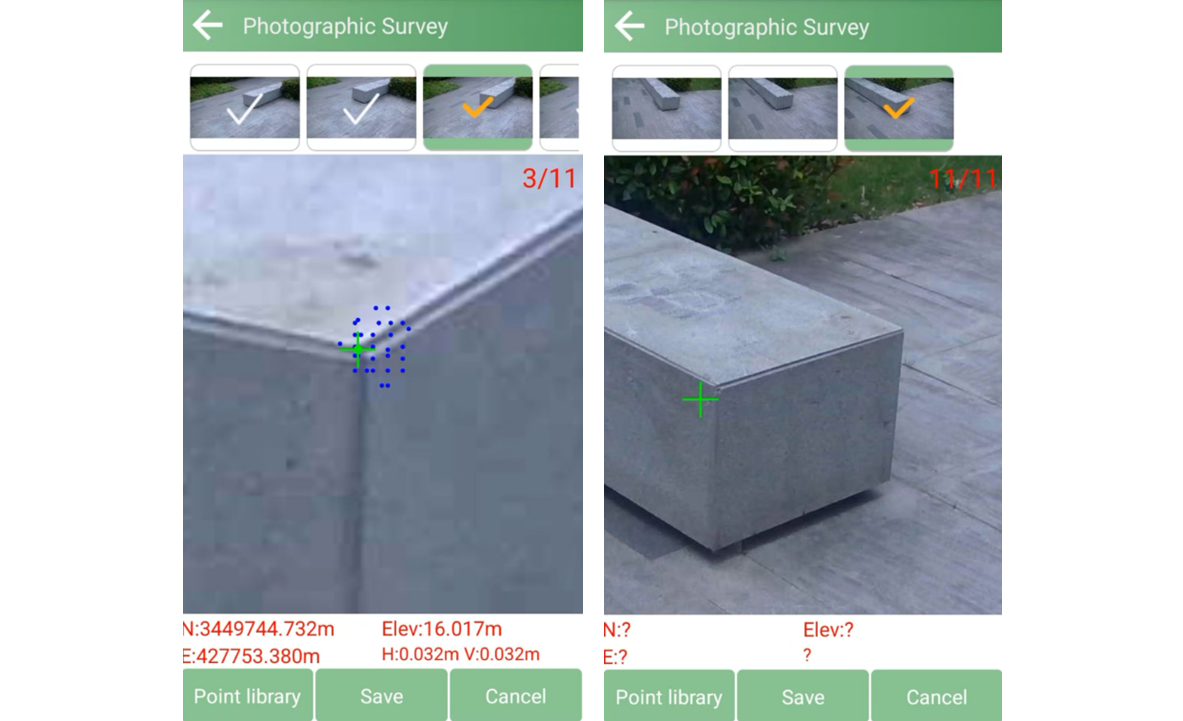
Select an image with a clear viewing angle, then press and hold the screen to display the point-selection assist arrow. Move the arrow onto the target point you want to measure.
Upon successful selection, a ring of purple coordinate points will appear alongside the green crosshair, indicating that the software has successfully recognized and calculated the point position.
If no purple points appear near the green crosshair, the selection has failed and please attempt to select the point again.
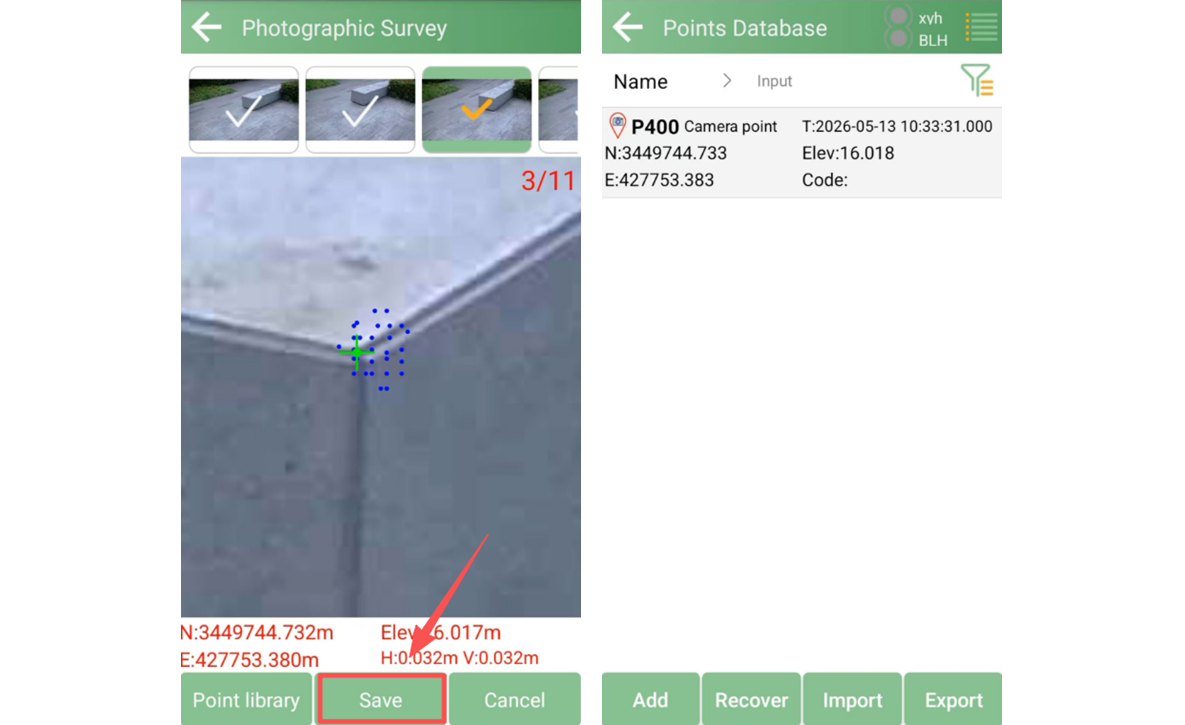
After successful selection, the calculated coordinates will appear at the bottom of the interface. Tap SAVE to store the point in the coordinate database.
Large glass surfaces, reflective materials, and smooth low-texture objects may reduce feature recognition performance and affect measurement accuracy.
Whenever possible, choose target points with clear visual features.
For optimal results, the movement distance during image capture should be approximately half of the distance to the target point.
For example:
Distance to target point: 20 m
Recommended movement distance: approximately 10 m
This helps create suitable image geometry for accurate point calculation.
During photographic surveying, avoid moving directly toward or away from the target point.
Instead, move laterally from side to side while maintaining visual coverage of the target. This provides better image overlap and improves calculation stability.
The device captures approximately one image for every meter of movement.
Try to avoid capturing moving vehicles, pedestrians, vegetation movement, or other dynamic objects during the survey process.
Moving objects can reduce the successful measurement rate and may interfere with point calculation.
Horus visual surveying combines GNSS positioning with image-based measurement technology, providing a flexible solution for measuring difficult or inaccessible points. By following proper operating procedures and maintaining suitable image overlap and movement patterns, users can achieve efficient and reliable visual survey results in a wide range of field scenarios.