


 Home
Home
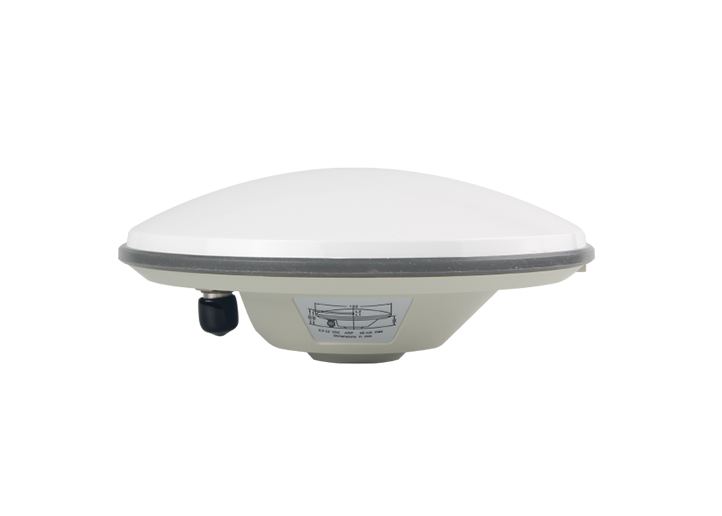
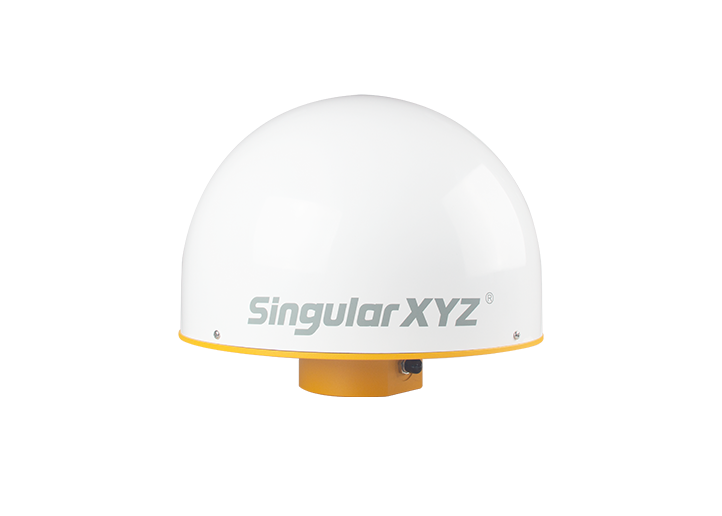
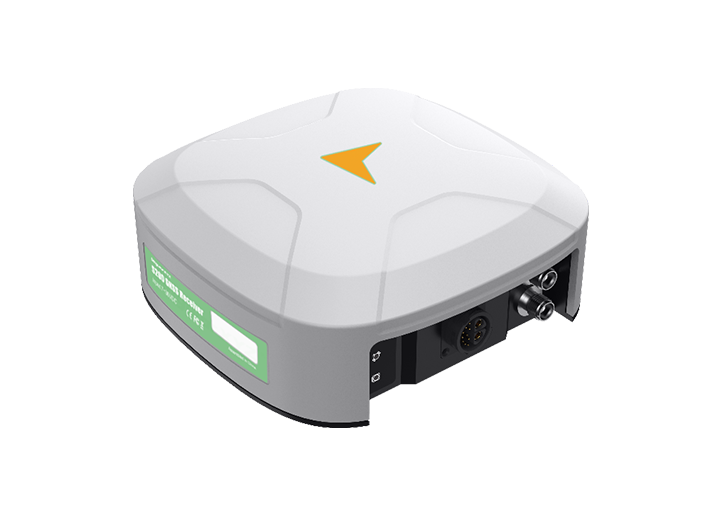
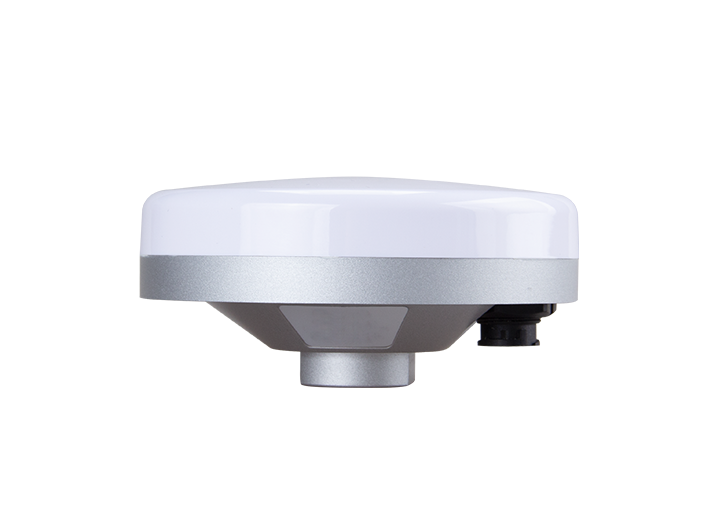
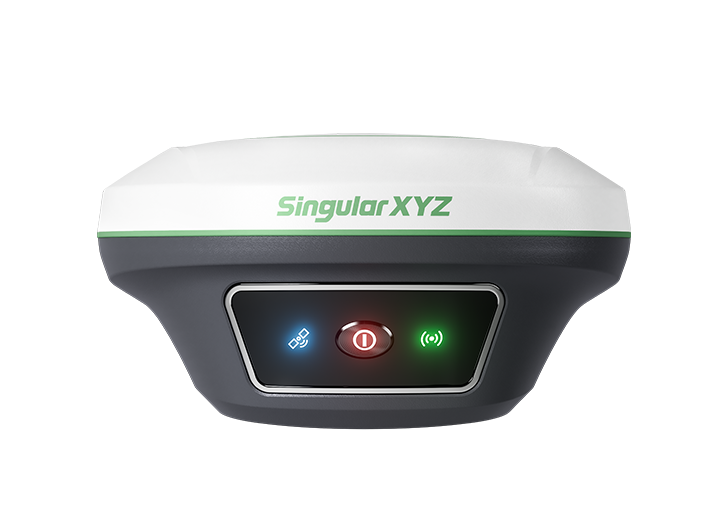
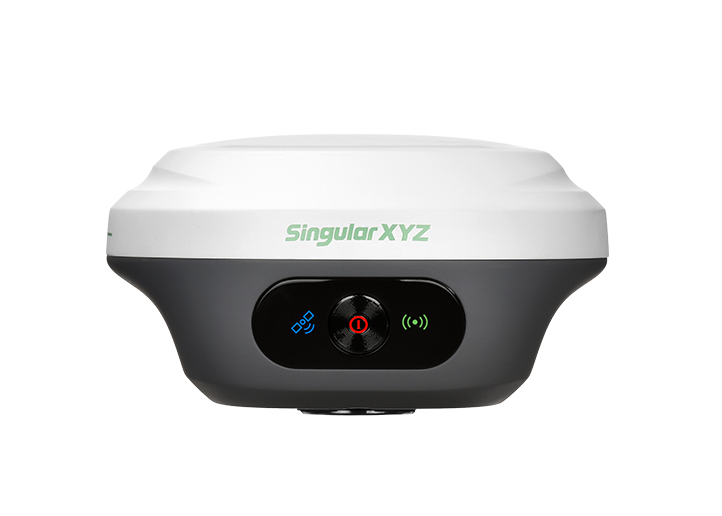
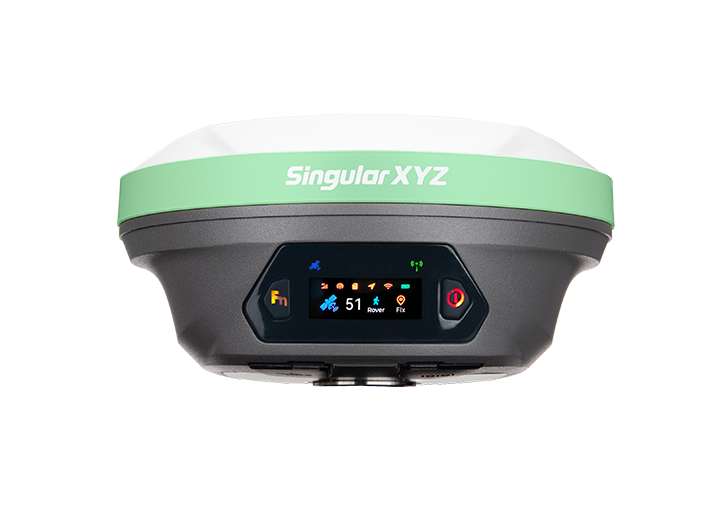
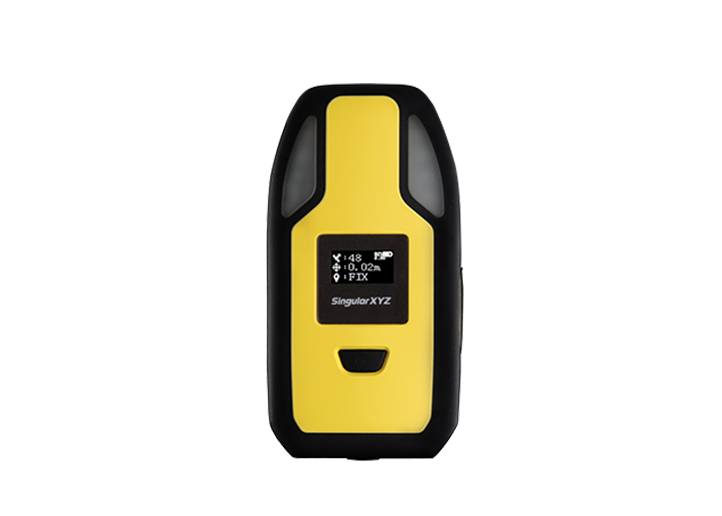
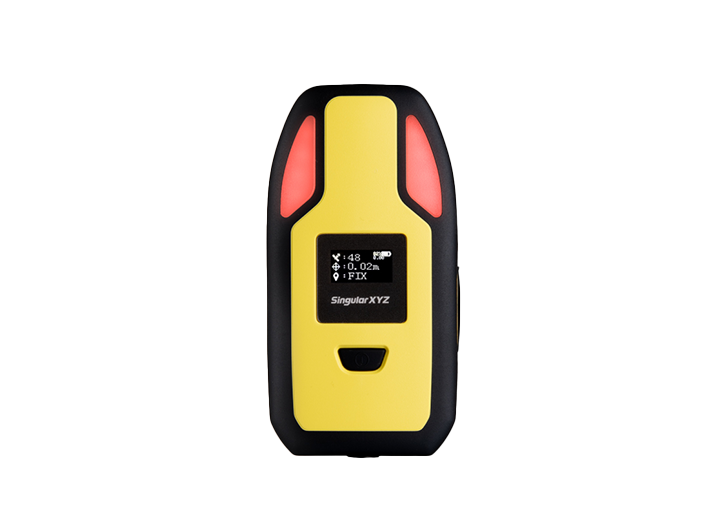
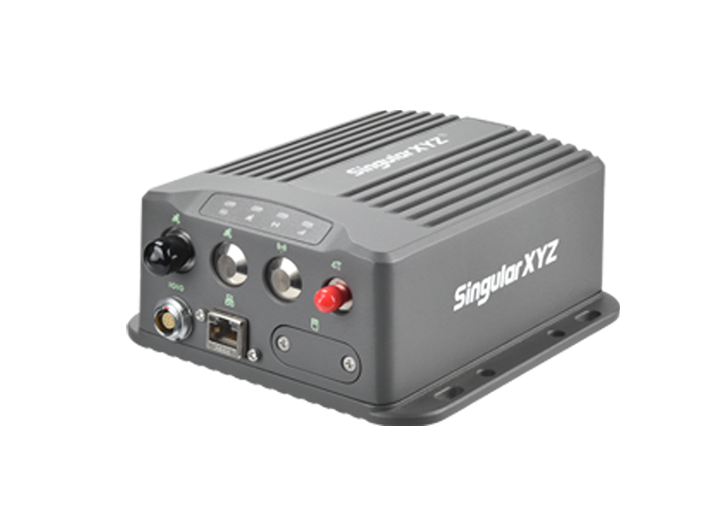
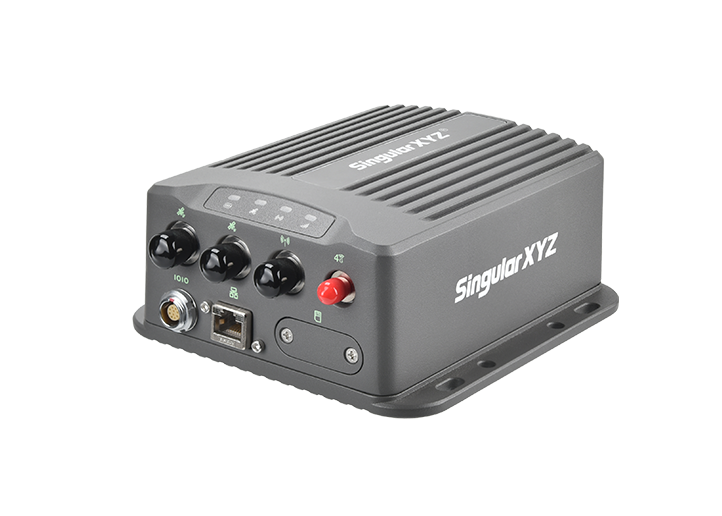
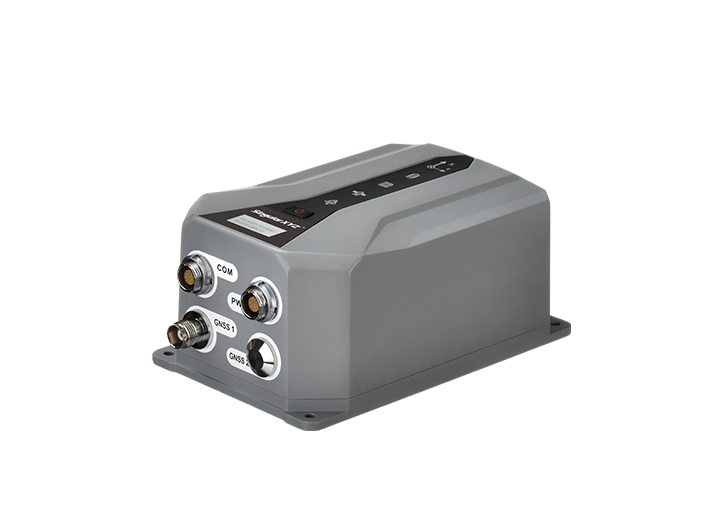
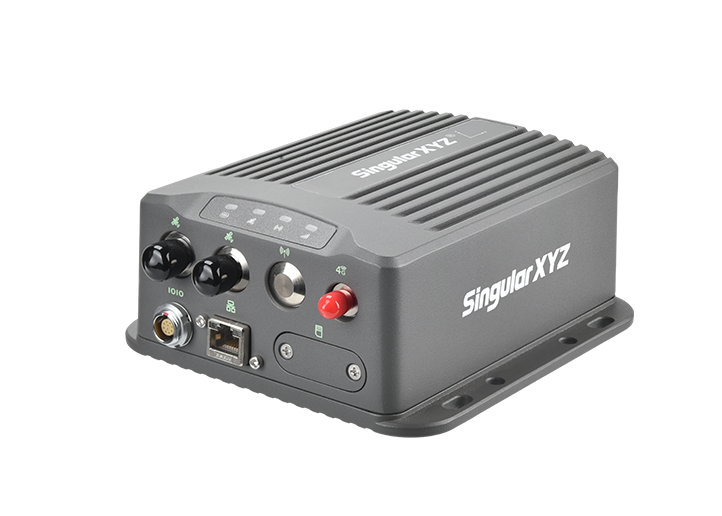
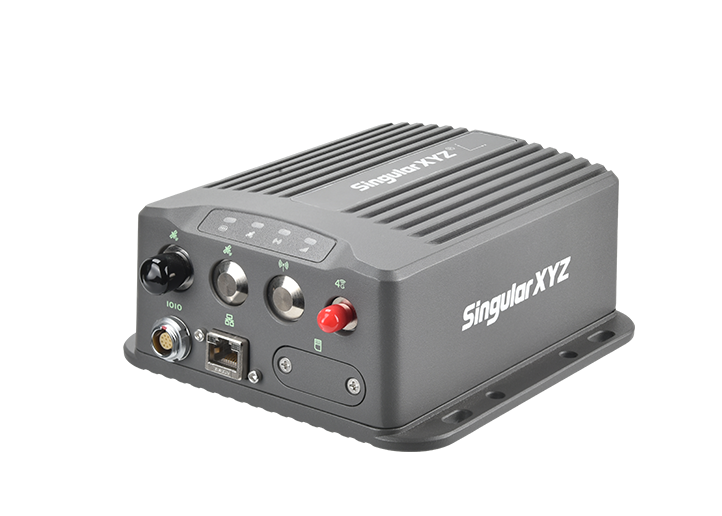
Z1 GNSS Receiver
learn more


 2025-11-11
 Gus
Gus


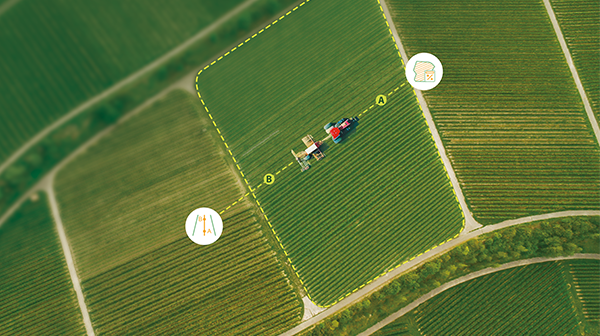
In some surveying tasks, users may need to set up a network base station for flexible data transmission to multiple rovers. For Z1 Series receivers without a built-in 4G module, one might wonder — is it still possible to operate as a network base?
To better meet these needs, our R&D team has released a new firmware update that allows Z1 Series receivers to function as a network base station by uploading RTK corrections through the data collector's internet connection.
In this blog, we'll walk you through how to configure your Z1 series receiver for this new feature.
Before getting started, make sure your receiver and software are both updated to the latest versions.
Receiver Firmware: Z1_V2.9.0.1.bin
Software: SingularNav, SingularPad
You can download these files from the SingularXYZ official website or contact our technical support team for assistance (support@singularxyz.com).
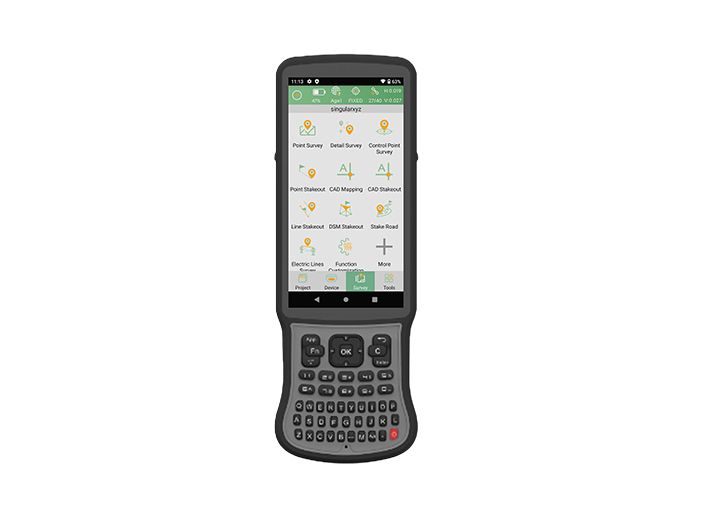
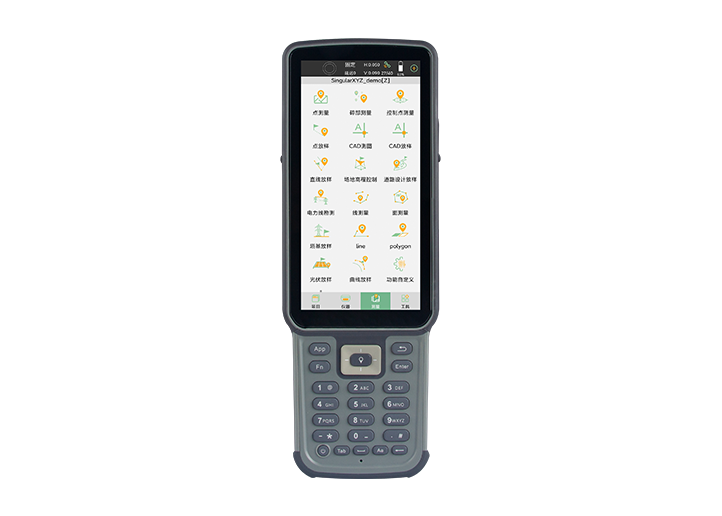
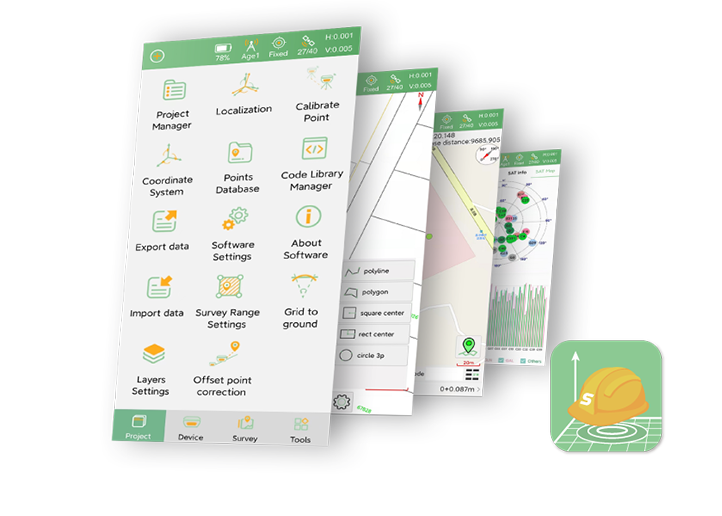
Open the SingularNav software on your tablet or controller.
Tap "No Device Connection" → "START SEARCH", then select your device's serial number (SN) to connect.
Ensure your controller or mobile phone is connected to the internet (currently only networks in the 2.4GHz band are supported).
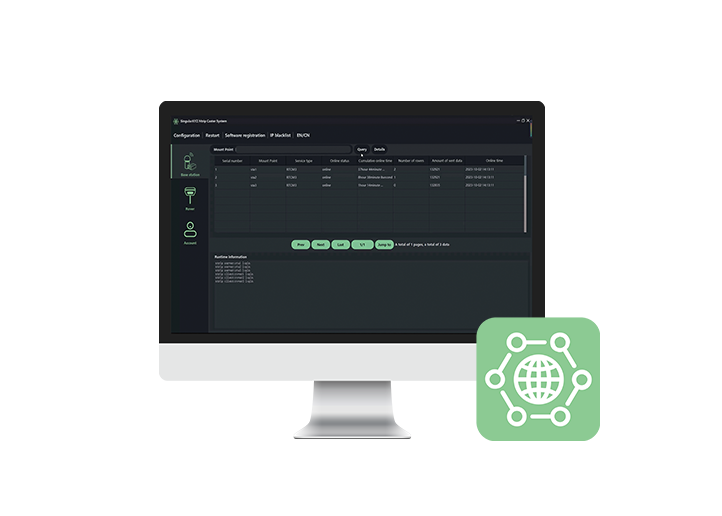
Tap "NtripSource Setting" to configure the Z1 as a network base station:
Set the Wi-Fi name and password (up to 32 characters).
Choose a Wi-Fi Auth Mode.
Enter the Ntrip Server IP, Port, Username, and Password (The picture shows SingularXYZ server as an example, you may use your own Ntrip Server information).
Set the NtripServerPoint (the mountpoint name to be accessed by the rover).
Enable NtripServerEnable, then tap SAVE.

Open the SingularPad software and connect to your rover receiver.
Go to "Rover" → "Datalink", and select Phone Internet as the data link mode.
Enter the Ntrip IP, Port, Username, and Password corresponding to the base configuration.
Tap "Get" to retrieve available Mountpoints, then select the one you just configured.

If the mountpoint can be successfully obtained, your network base setup is complete. Finally, tap Start → Apply to begin transmitting corrections from the base to the rover.
With the latest firmware, your Z1 series receiver can now flexibly serve as a network base station by transmitting data through the controller's internet connection. This update expands the versatility of Z1 receivers, allowing surveyors to build efficient local network base solutions even without embedded 4G modules.
For more details on configuring network base stations or troubleshooting connection settings, you can also refer to our previous blogs.