


 Home
Home
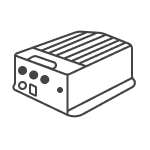
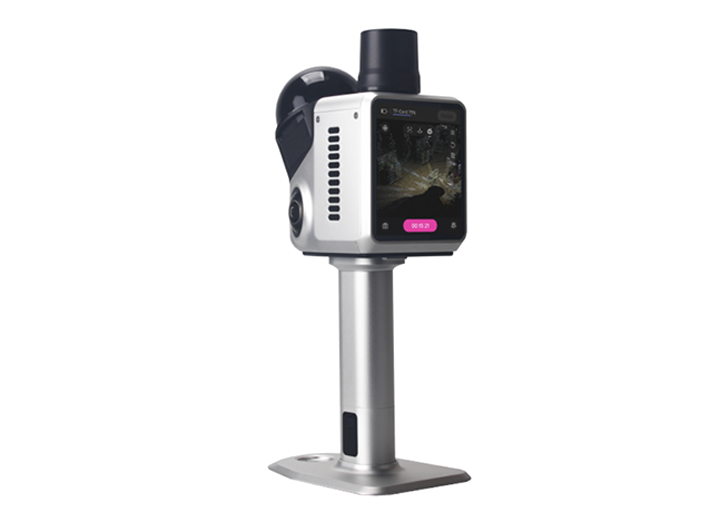
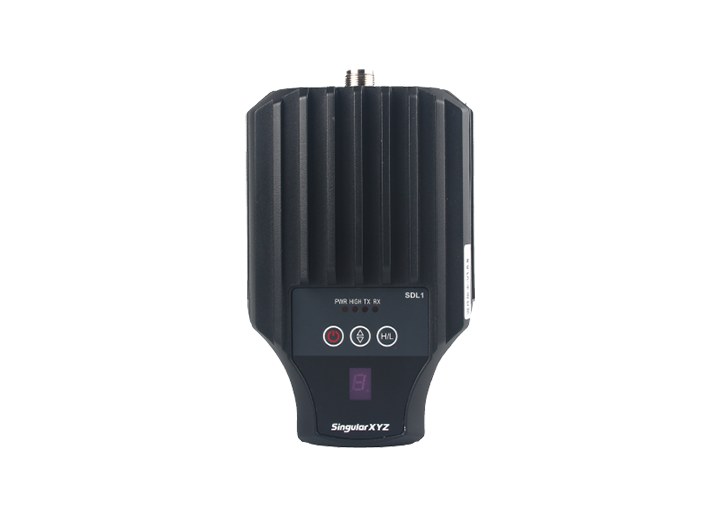
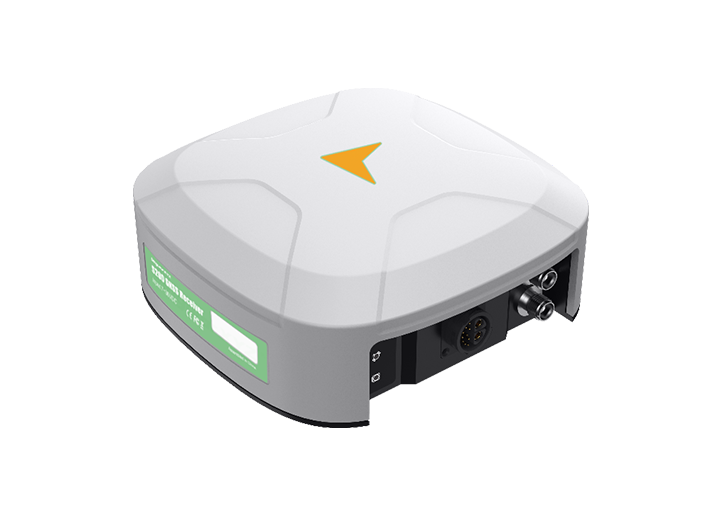
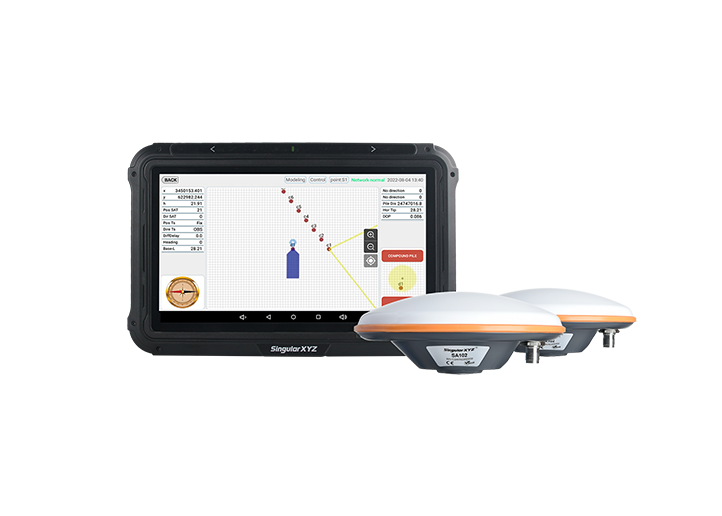
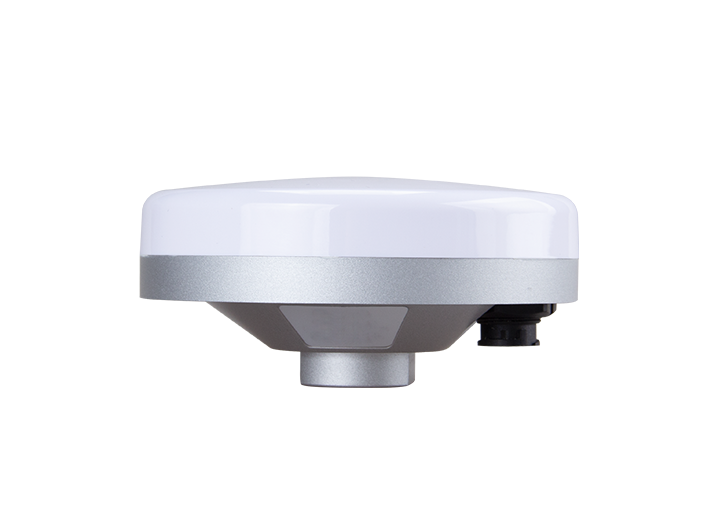
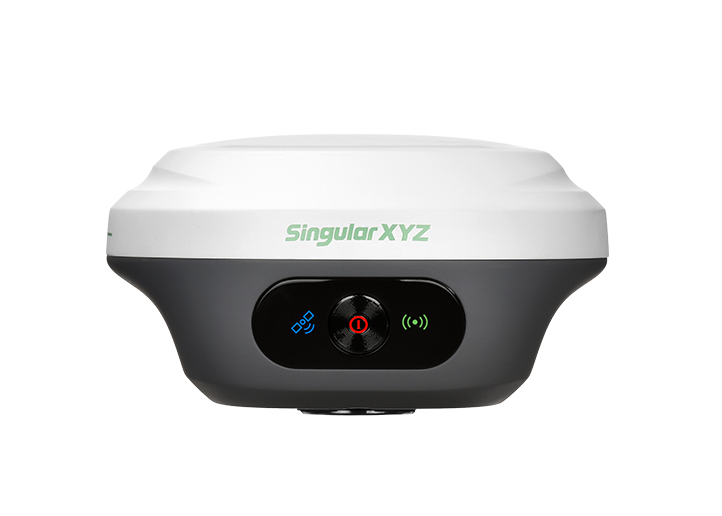
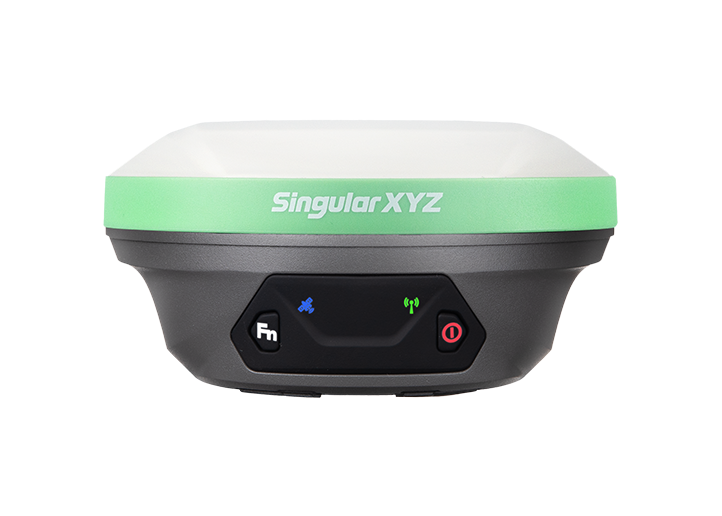
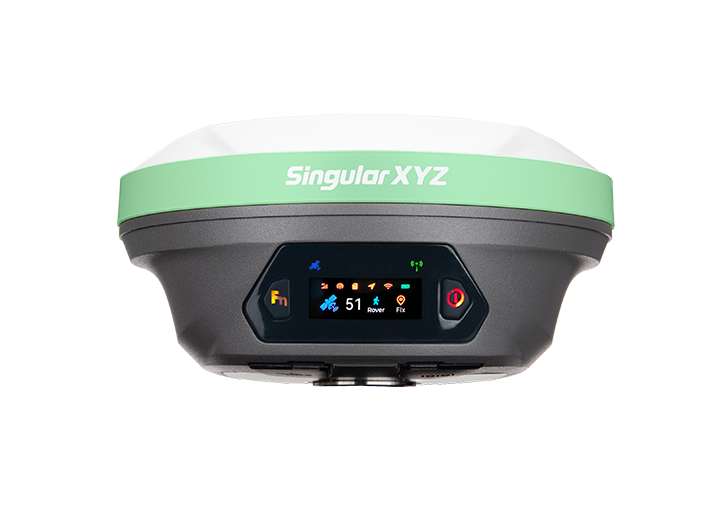
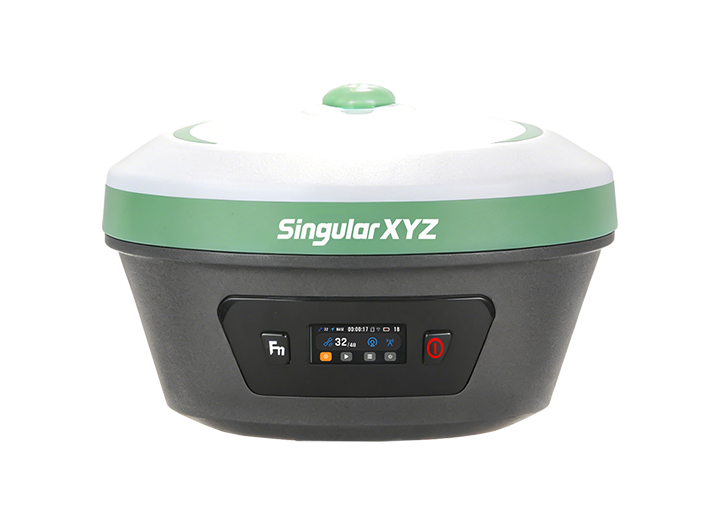
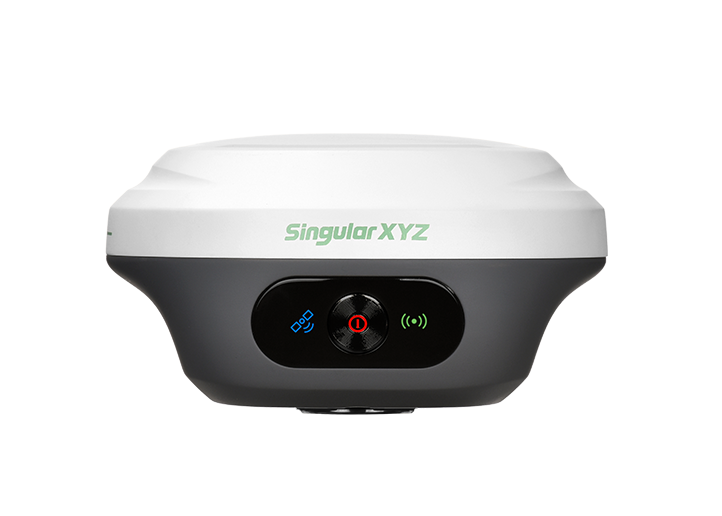
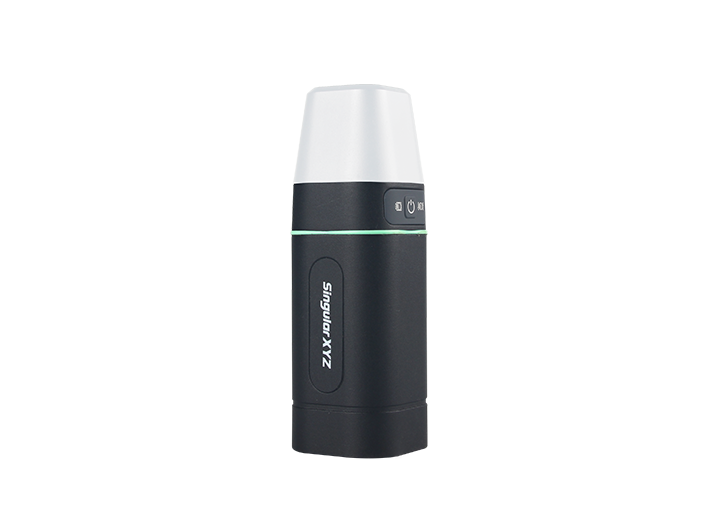
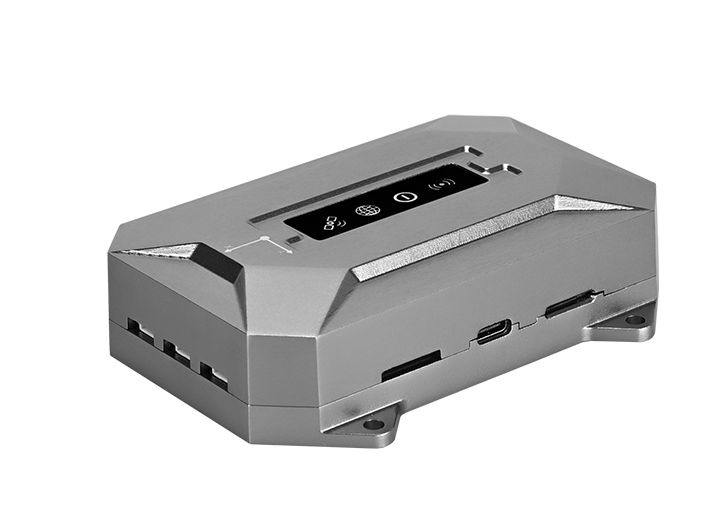
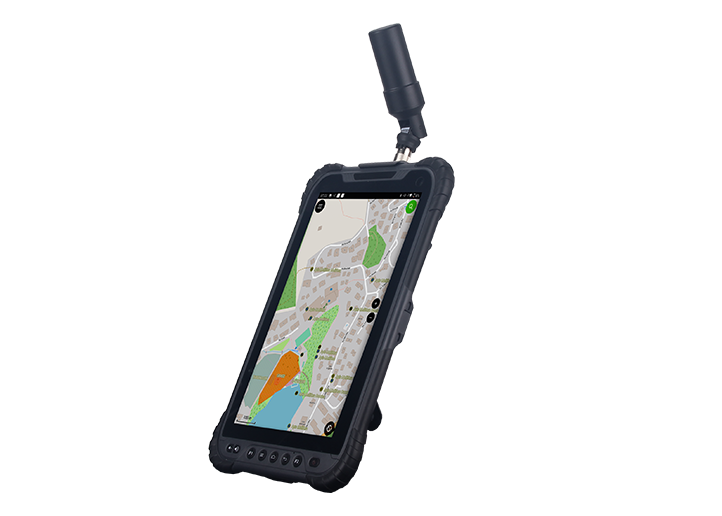
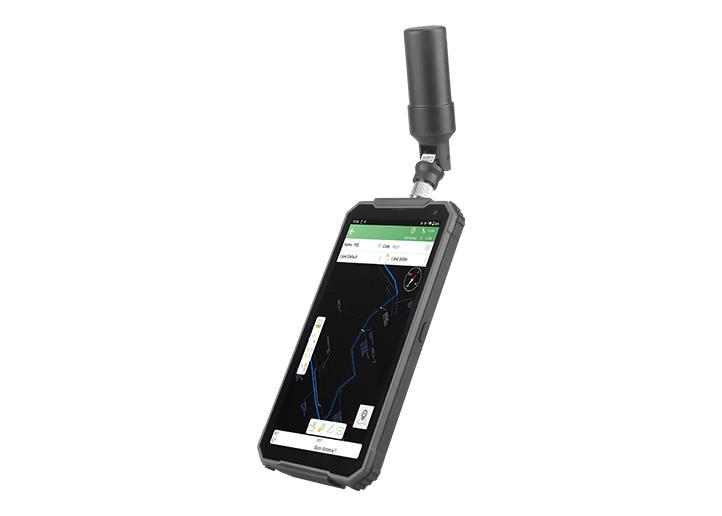
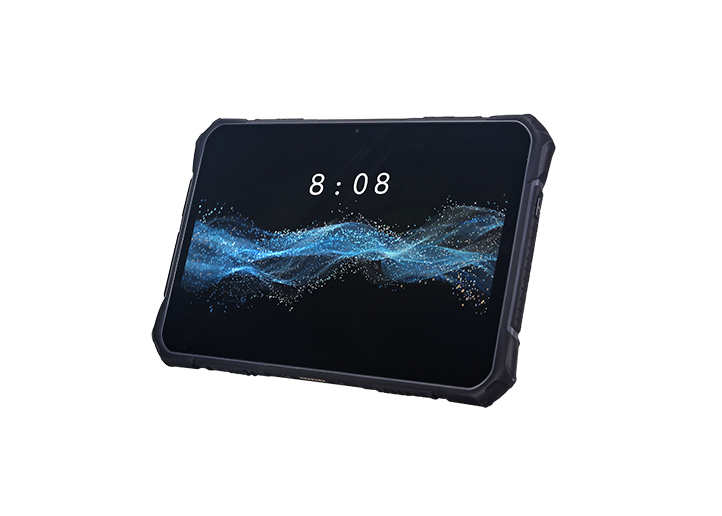
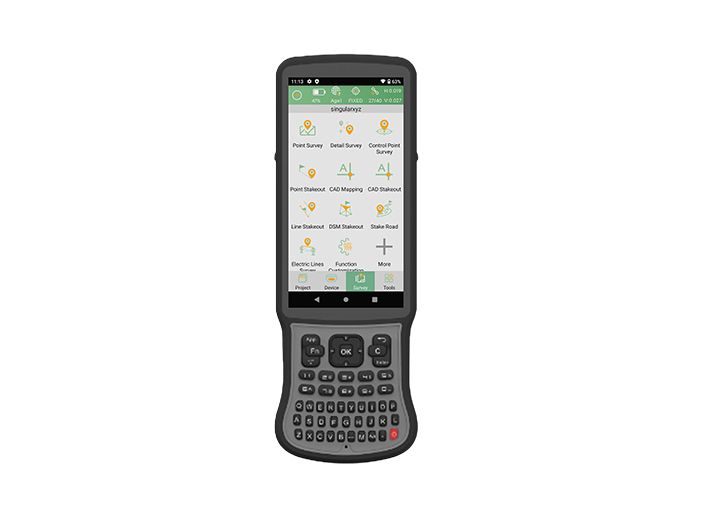
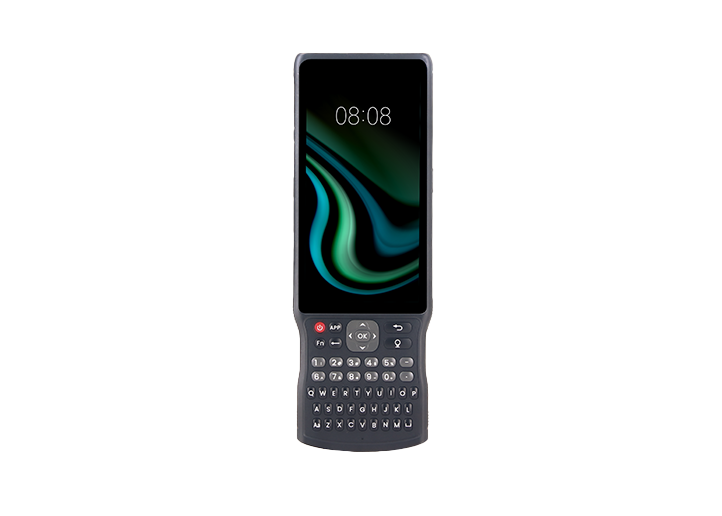
X1 Lite GNSS Receiver
learn more


 2025-12-09
 Kimberly


In traditional GNSS workflows, setting up a network base station normally requires inserting a SIM card into the receiver. This often means users must prepare an extra SIM card solely for base-station usage while ensuring the receiver has a built-in GSM function.
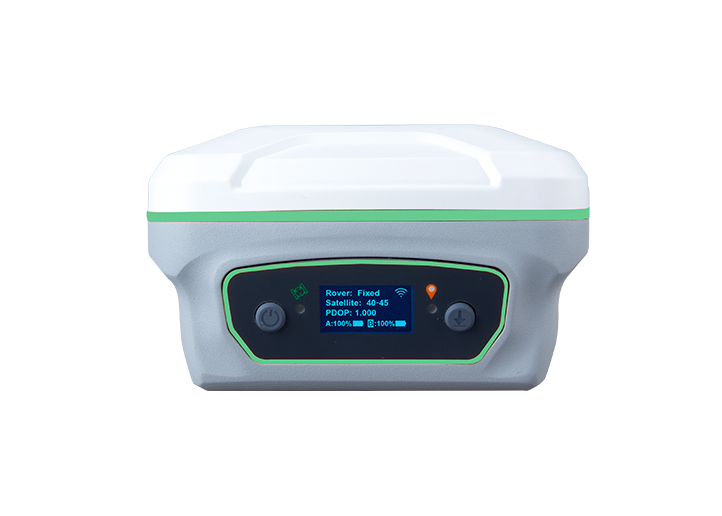
In previous blog, we introduced how the Z1 series without built-in 4G module can be configured as a network base station via a mobile hotspot or Wi-Fi — no SIM card or GSM module required. Today, we will show how the X1 Lite can be configured as such a network base station.
Note: The Wi-Fi used by the base station must be 2.4 GHz, and the Wi-Fi password must not exceed 32 characters.
1 Configure NTRIP Server
Power on the base station device, connect your computer to the device's Wi-Fi, and upgrade the device firmware to the latest version: 1.0.A19S83T in Firmware---Firmware Upgrade.

Configure the device to start as a base station in Device Configuration---Working Mode.

Configure NTRIP Server in Work Management---Data Transmission.

Click "Config", enter the CORS account, username, password (The account and port shown on the blog are just examples, you will need to use your own CORS account.), and mount point (it is recommended to set all to the device's SN). Check "Startup", click "OK", and the NTRIP Server setup is complete.

2 Connect to Wi-Fi
In Device Configuration---Wi-Fi Config, switch the Wi-Fi to STA mode.
Enter the name of the connected Wi-Fi network in SSID and the Wi-Fi password in Password (the connected Wi-Fi network must use the 2.4GHz band, and the password must not exceed 32 characters).

Click "Startup". When the web page pops up "Request Failure", it means that the base station's Wi-Fi is disconnected from the computer and the device is working as a network base station.

3 Configure the Rover
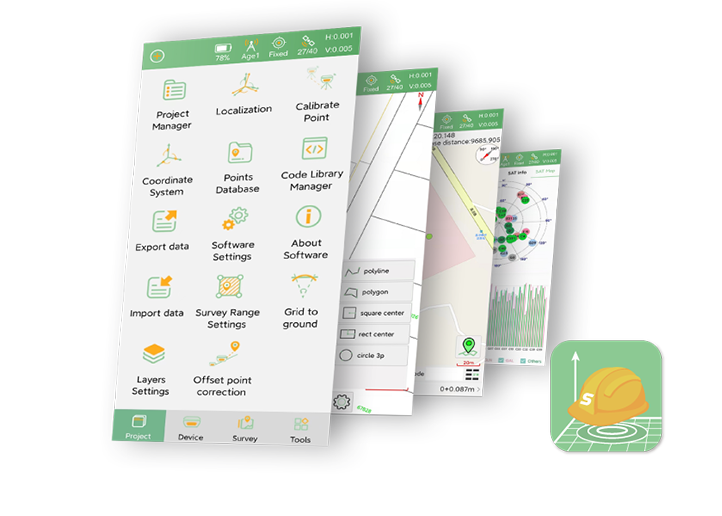
Power on the rover s device, open SingularPad and connect the device. Click "Rover" Settings for the rover , and set the data link to Phone network.
Select NTRIP as the connection mode, and enter the same account and port as the NTRIP Server used to configure the base station (The account shown in the image is just an example, you will need to use your own CORS account.). The username and password can be different.
Click "GET" to obtain the mountpoint. Since the mountpoint has already been set to the base station's SN, select the mountpoint with the base station's SN name from the drop-down list. The page will display "Get Mountpoint Successfully".

Click "Start" on RX Data Status to retrieve data. After successfully retrieving the data, click "Apply" to apply it.Measurement can begin when "FIXED" is displayed at the top of the page.

With just a few simple configurations, the X1 Lite can function as a fully capable network base station—without requiring a SIM card or complex setup. This flexibility allows surveyors to complete daily RTK work with greater efficiency. We hope this guide helps you make the most of your X1 Lite and streamlines your workflow.